

Overview
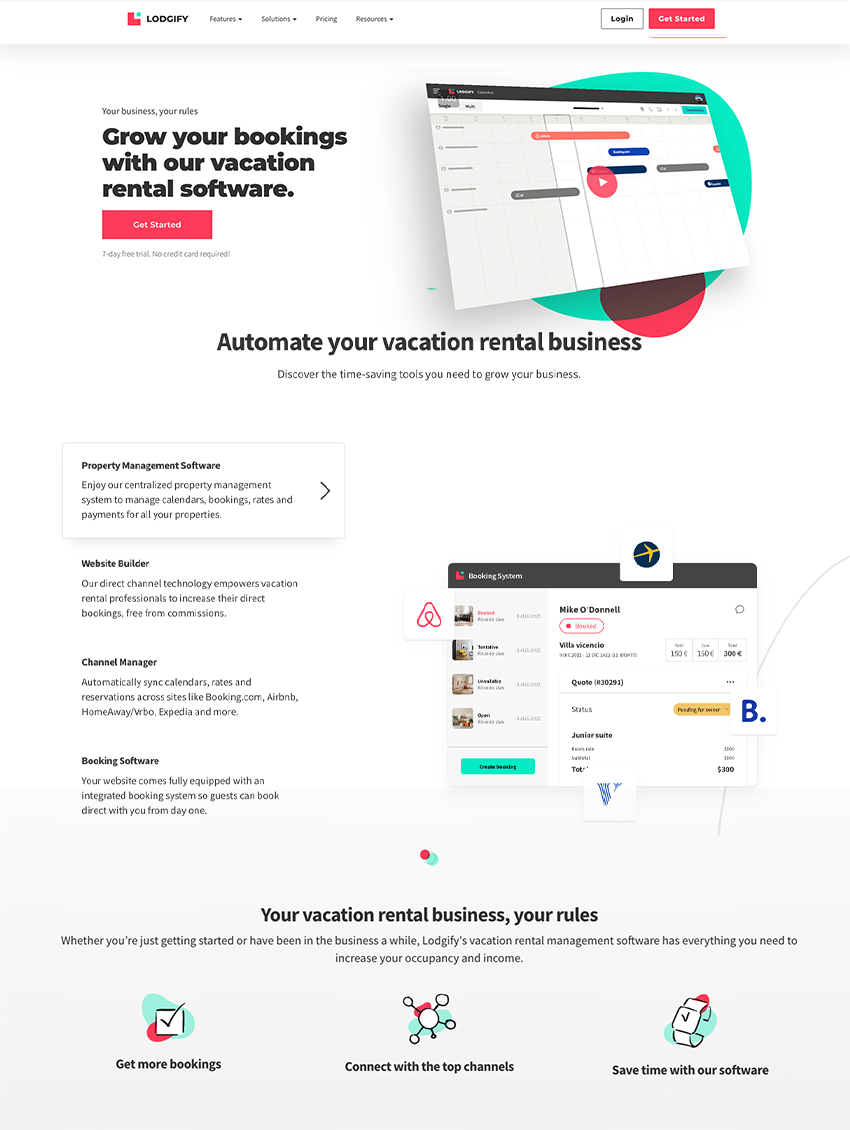
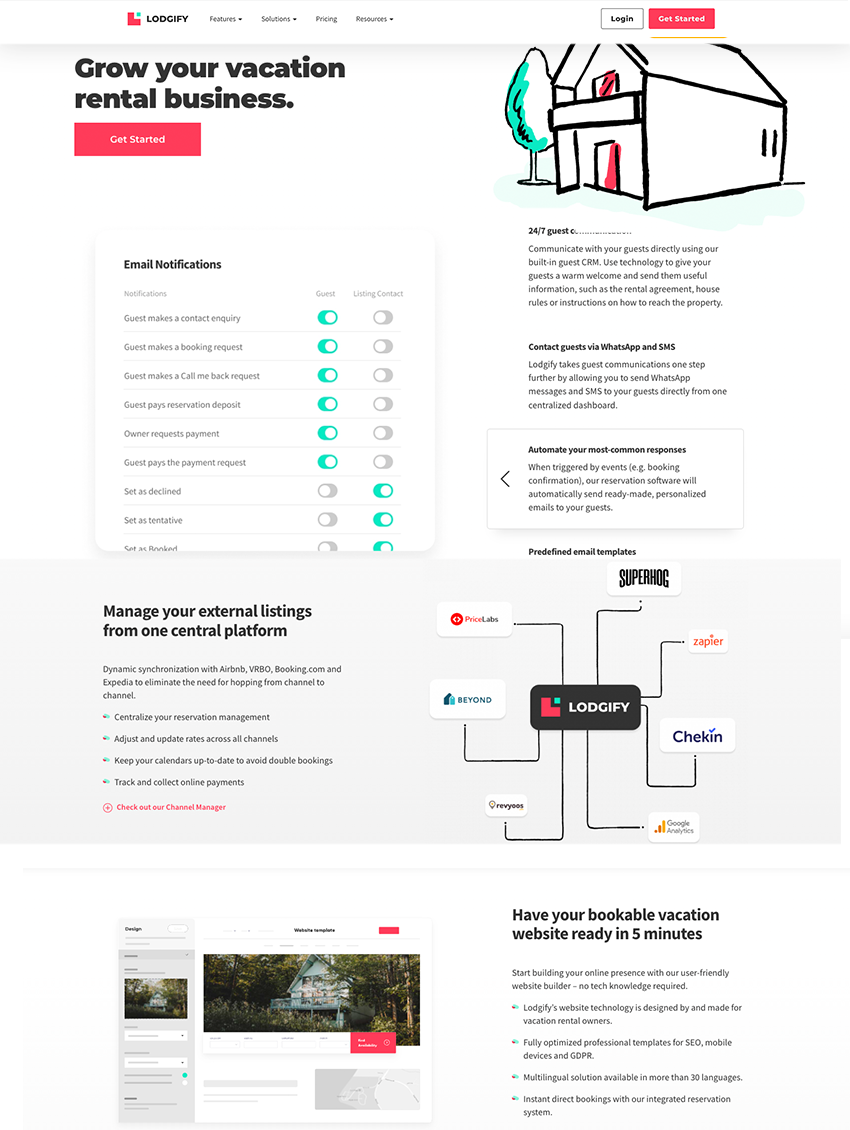
The website is easy to build and comes with lots of functionality, such as a payment portal and channel management tools so that you can manage all your listings in one place.
Prices start at $29 per month for single listings and $59 per month for multiple listing hosts.
Sign-up for a free 14-day trial and use code GPFYP to receive 10% off your subscription or read my extensive Lodgify review below.
To help you understand how having your own website can help your vacation rental business, I put together this review that walks you through all of Lodgify's features. If you're serious about creating a website, you'll learn a lot from this review. Enjoy !
Starting at $27/month
As more and more short stay hosts are entering the short stay rental market, standing out as a host has become harder and harder. Having your own vacation rental website in addition to listing on different platforms such as Airbnb is a good way to reduce dependency on third party platforms and stand out from the crowd. In addition, you can take advantage of avoiding the booking fees.
Building a website is complicated though. If you don't know how to code, your only option is to use a content management system like WordPress. Although no coding skills are required, you still need to learn how to use WordPress and you need some decent design skills if you want your website to look good. Let alone implementing the functionalities such as a channel manager and payment portal that a stellar vacation rental website required. It's a massive challenge, and outsourcing will cost in the thousands of dollars.
That's where a tool like Lodgify comes in handy.
Lodgify is a comprehensive vacation rental website creation tool that allows you to build a beautifully designed online home for your vacation rental.
I've been using it for a while and it's one of my favorite tools to increase bookings.
And since here at Get Paid For Your Pad, I'm committed to helping you make the most of your time and money, I thought it would be appropriate to review this vacation rental tool.

I'm not going to sell you the tool. Instead, I'm going to dive deep into why having your own vacation rental website might help your business and explain how Lodgify works and how you can get the most out of the tool.
As I do that I will zoom in on the different features and functionalities and explain in detail how to use these effectively.
For full transparency, I do want to mention that the links to Lodgify in this review are affiliate links. If you learn something useful and are interested in the tool, feel free to use these links to buy the tool. At no extra cost to you, you'll support this website. Win-win!
Let's dive in!
Why you want to have your own vacation rental website
It's “building a business 101.” Never be dependent on a third party for the success of your business. That's true for the vacation rental business as well.
There are many reasons why you would want to have your own vacation rental website, but the four most important ones I can think of are:
1. It's the only way to run an independent business
Don't put your eggs in one basket, keep your options open and never bet on just one horse. These expressions all mean the same: you don't want to be dependent on one party for your success. All short term rental platforms have one thing in common: they reserve the right to close your account without explanation.
2. It gets you more bookings
Internet users are pretty savvy these days. If you brand your vacation rental, there's a good chance they will google the name to see where they can find the best price. If they find your website, they can avoid the hefty platform fees, which makes it more likely that they'll book.
In addition, your former guests are more likely to spread the word about your rental, since it's easier to refer to a website than an Airbnb or Homeaway listing.
3. It's an online business card
When you meet people who are potentially interested in staying at your place, it's much easier to refer them to your website than a platform listing. Your website is like an online business card that's easily shared with your personal network.
4. It builds credibility and reputation
Of course it's possible (and important) to build a strong reputation on the different platforms that you list on. However, in 2017 people expect that professional businesses have their own website. It also allows you to show off your pad in a different and credible way.

The danger of investing in your own vacation rental website
Look, Lodgify is a fantastic tool, to the point where it's the ONLY vacation rental website creation tool I use because it does everything I want.
However, there is something that it does't do: It doesn't do the work for you.
The tool is of amazing value for anyone who has a vacation rental business but most importantly who takes action and uses it properly.
I have seen soooo many people buy these kinds of tools with great intentions then they never do anything with them.
Don't be that guy.
If you buy Lodgify or any other tool, you ALSO need to set time aside to train yourself to use it and to use the tool to create an amazing website that you can be proud to share. There's no point in half-assing it, you're better off spending your money and time elsewhere than to create a mediocre looking website.
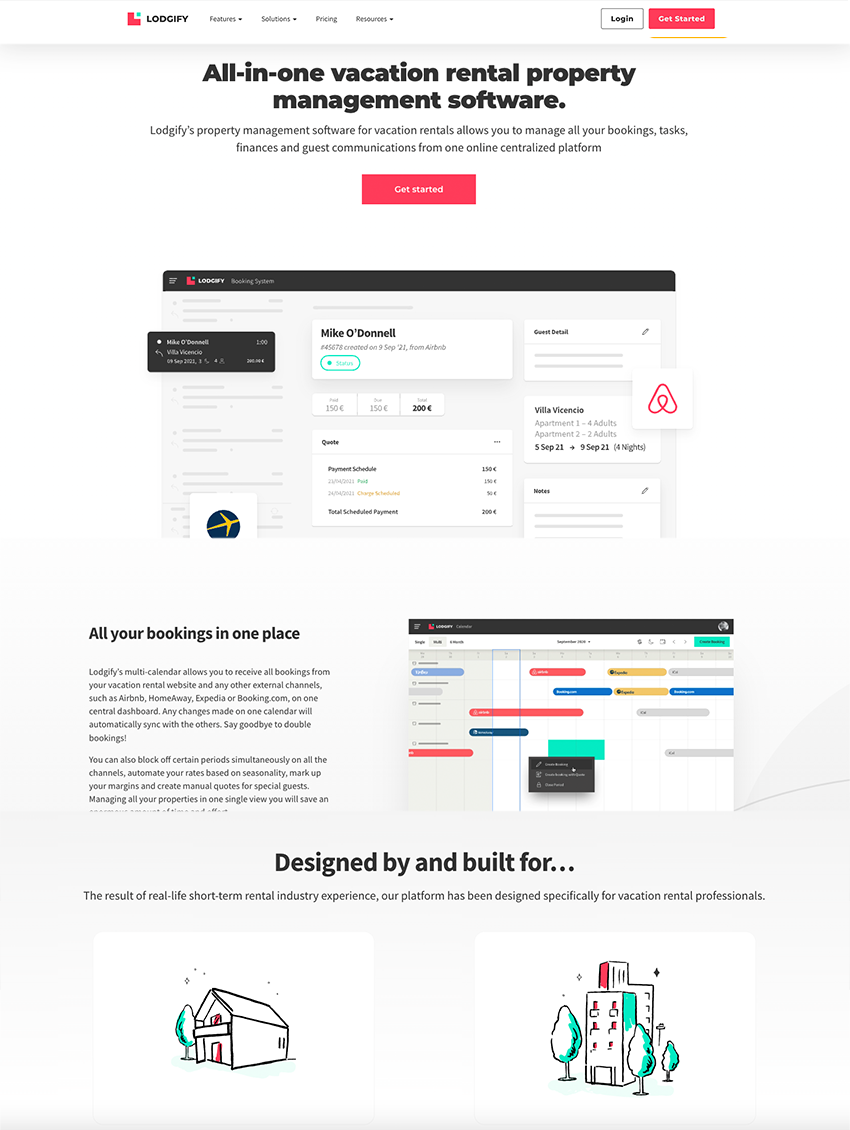
As an added bonus, Lodgify has introduced full Airbnb API and Booking.com integration which allows you to manage your listings on both sites inside your Lodgify account.
Having the ability to directly connect with Booking.com and Airbnb’s API allows you to synchonize booking details, availability, rates and messages in real-time through Lodgify. It also allows hosts to create new listings on Airbnb from your Lodigfy account.
Inside this post I will teach you:
- How to use Lodgify to create a beautifully designed website
- How to create a basic website in under 30 minutes
And more. But the truth is, if you make no time commitment to actually do the things you learn, Lodgify won't do anything other than take your money monthly from you.
Well, I guess if you are still reading, you want to learn how to do all these things using Lodgify so let's get started.
Who is Lodgify not for?
Lodgify is a wonderful tool but it isn't for everyone. If you fall into one of the two categories below, you'll do better to avoid Lodgify altogether.
1. Part-time hosts
If you're only renting out part time, it may not be worth putting in the time and money to create your own website.
2. Hosted hosts
If you're renting out a spare room, there's not much benefit to having your own website since there is less to show.
1
Part-time hosts
If you're only renting out part time, it may not be worth putting in the time and money to create your own website.
2
Hosted hosts
If you're renting out a spare room, there's not much benefit to having your own website since there is less to show.
Lodgify Video Review & Overview
Getting started with Lodgify
Let me show you what is inside the tool and most importantly how you can use it to create an awesome website for your vacation rental.
After you sign up, you'll be at your Lodgify dashboard. Building your website consists of two major steps:
Step 1: Adding a property
Step 2: Adding a website
Once you've completed these two steps, you can simply connect the property with the website and you'll be the proud owner of your own vacation rental website!
Step 1: Adding a property

I suggest you start by adding a property. If you already have an Airbnb listing or a listing on another home sharing website, this process will be quite simple. You can easily just copy the content from your listing.

Adding a property is very similar to the steps you took to create your vacation rental listing. That's why I recommend that initially you copy the content from your listing. This will allow you to have your own website up and running within a few hours, which is awesome.
The reason why I recommend this is that it's very fulfilling to see the result from your efforts. Have you ever given up on something you started because it took a long time, you got stuck, bored or distracted? That's what I want to prevent from happening. I want you to get results.
As you can see in the screenshot above, adding a property consists of four steps:
Step 1: Filling out your listing details such as the title, description and amenities.
Step 2: Adding a map and your photo gallery
Step 3: Adding rates
Step 4: Adding contact details and reviews
All these steps are pretty self explanatory, if you want to see how I created my website you can watch the video earlier in this post. Here I'll just mention a few tips on how to go through this process most efficiently.
Adding photos
Lodgify has a very simple functionality to add photos, you can simply bulk upload them. However, if you're an Airbnb host like me and you've used the Airbnb photographer to add photos to your listing, you won't have your photos, as Airbnb has automatically added the photos to your listing for you.

What you'll have to do is save the photos from your Airbnb listing to your computer first. To do this, go to your listing's photo gallery and right-click your mouse to select “Save image as…” to save the image to your computer. I suggest you create a new folder on your hard-drive and save all the images there. This way you can easily select all photos and bulk upload them to Lodgify.

Bookability and policy settings
In step 3 you'll have to select a “bookability option” and a “payment policy.” These define what the booking and payment process look like for the guest. I recommend using the default options for now: “Booking Request” and “Primary policy.”

You can always change these later. The reason why I recommend selecting these options now is that I don't want you to get stuck because you're not sure what option to select. Later in this post I'll get into more details about these options.

As for the rates, I suggest you copy the rates from your vacation rental listing. There are a bunch of extra options such as promotions and add-ons. Don't worry about these now, we'll get into them later.
Under step 4 you fill out the contact details. If you have a listing on Airbnb, Homeaway, Flipkey, TripAdvisor, Domegos, Roomorama or NineFlats you can import your reviews.
Note: After you've completed and saved your contact details in step 4, the site won't take you to another page. To proceed, go to the menu in the top right of the screen and click on “My properties.”
After you select My Properties you'll see the property that you've just created. It should be listed as “completed.” If it's not, you've forgot to save one of the four steps in the creation process.

Step 2: Creating a website
Congrats, your property is added! The only thing you'll have to do now is to create the website and connect your property. Don't worry, this is extremely easy!
Go to the menu in the top right corner of your screen and select My Websites.
You should see the screen below where you can start the process of creating your website.

Simply press the red button and you'll be taken to the first step of building your own website.

The first step is to choose a name for your website. You can change this later, so don't fret over it too much.
Your domain will be propertyname.lodgify.com. However, once you sign up for a Lodgify plan, you'll be able to choose a custom domain, like www.propertyname.com.
Having your own domain obviously looks way more professional than having a Lodgify domain.
Step two is to select a single or multiple properties. Unless you've added multiple properties under step 1, you should select the single property option.
Step three is to select the property that you've added earlier. If you haven't created your property yet, you could even proceed without adding a property. Lodgify will add a demo property for you.
That's it, just press the green create button and you'll be taken to the next screen to select your theme. If you don't then you haven't selected a valid domain name. Try a different name until you see the green check symbol next to the domain name.

On this screen you can select a template and a color palette. Pick according to your taste, you can change this later.
Next, you'll have the option to select custom colors and fonts for the different parts of your website. Notice that you can see a preview of what your site will look like. As you select different colors, your site will be updated instantly. A nice feature!

Once you've chosen your colors, it's time for the final step: designing the front page of your website. If you don't see the page below, just click on Pages in the menu bar.

On this page you can do a few different things.
Call to action: you can use this to encourage your visitors to book your space. For example, you could write “Book your perfect stay in <name of your city> now!”
Slideshow: Add your best picture of each space here, i.e. one photo of your living room, one of each bedroom, one of the kitchen, a picture of an outside area if you have one and one of the neighborhood.
Welcome text: you could leave this as is, or write something like “Welcome to the most comfortable apartment in <your city>!”
Introductory marketing text: I would use this space to highlight the best aspects of your space.
Extra content: use this space to build trust with the viewer by adding a screenshot of a stellar review, your ratings on the home sharing platform you're using or any other awards or badges that you have.
Congrats! You're now ready to publish your site!
Go ahead and press the PUBLISH button. Don't worry that your site isn't perfect yet. No-one will look at your site as long as you don't promote it.
Once your site is published you can have a look at it and play around with it. This will give you a better idea of what you want to change.
You can also ask friends and family to give you some feedback and make improvements accordingly. Or shoot me an email at jasper@getpaidforyourpad.com and I'll take a look myself!
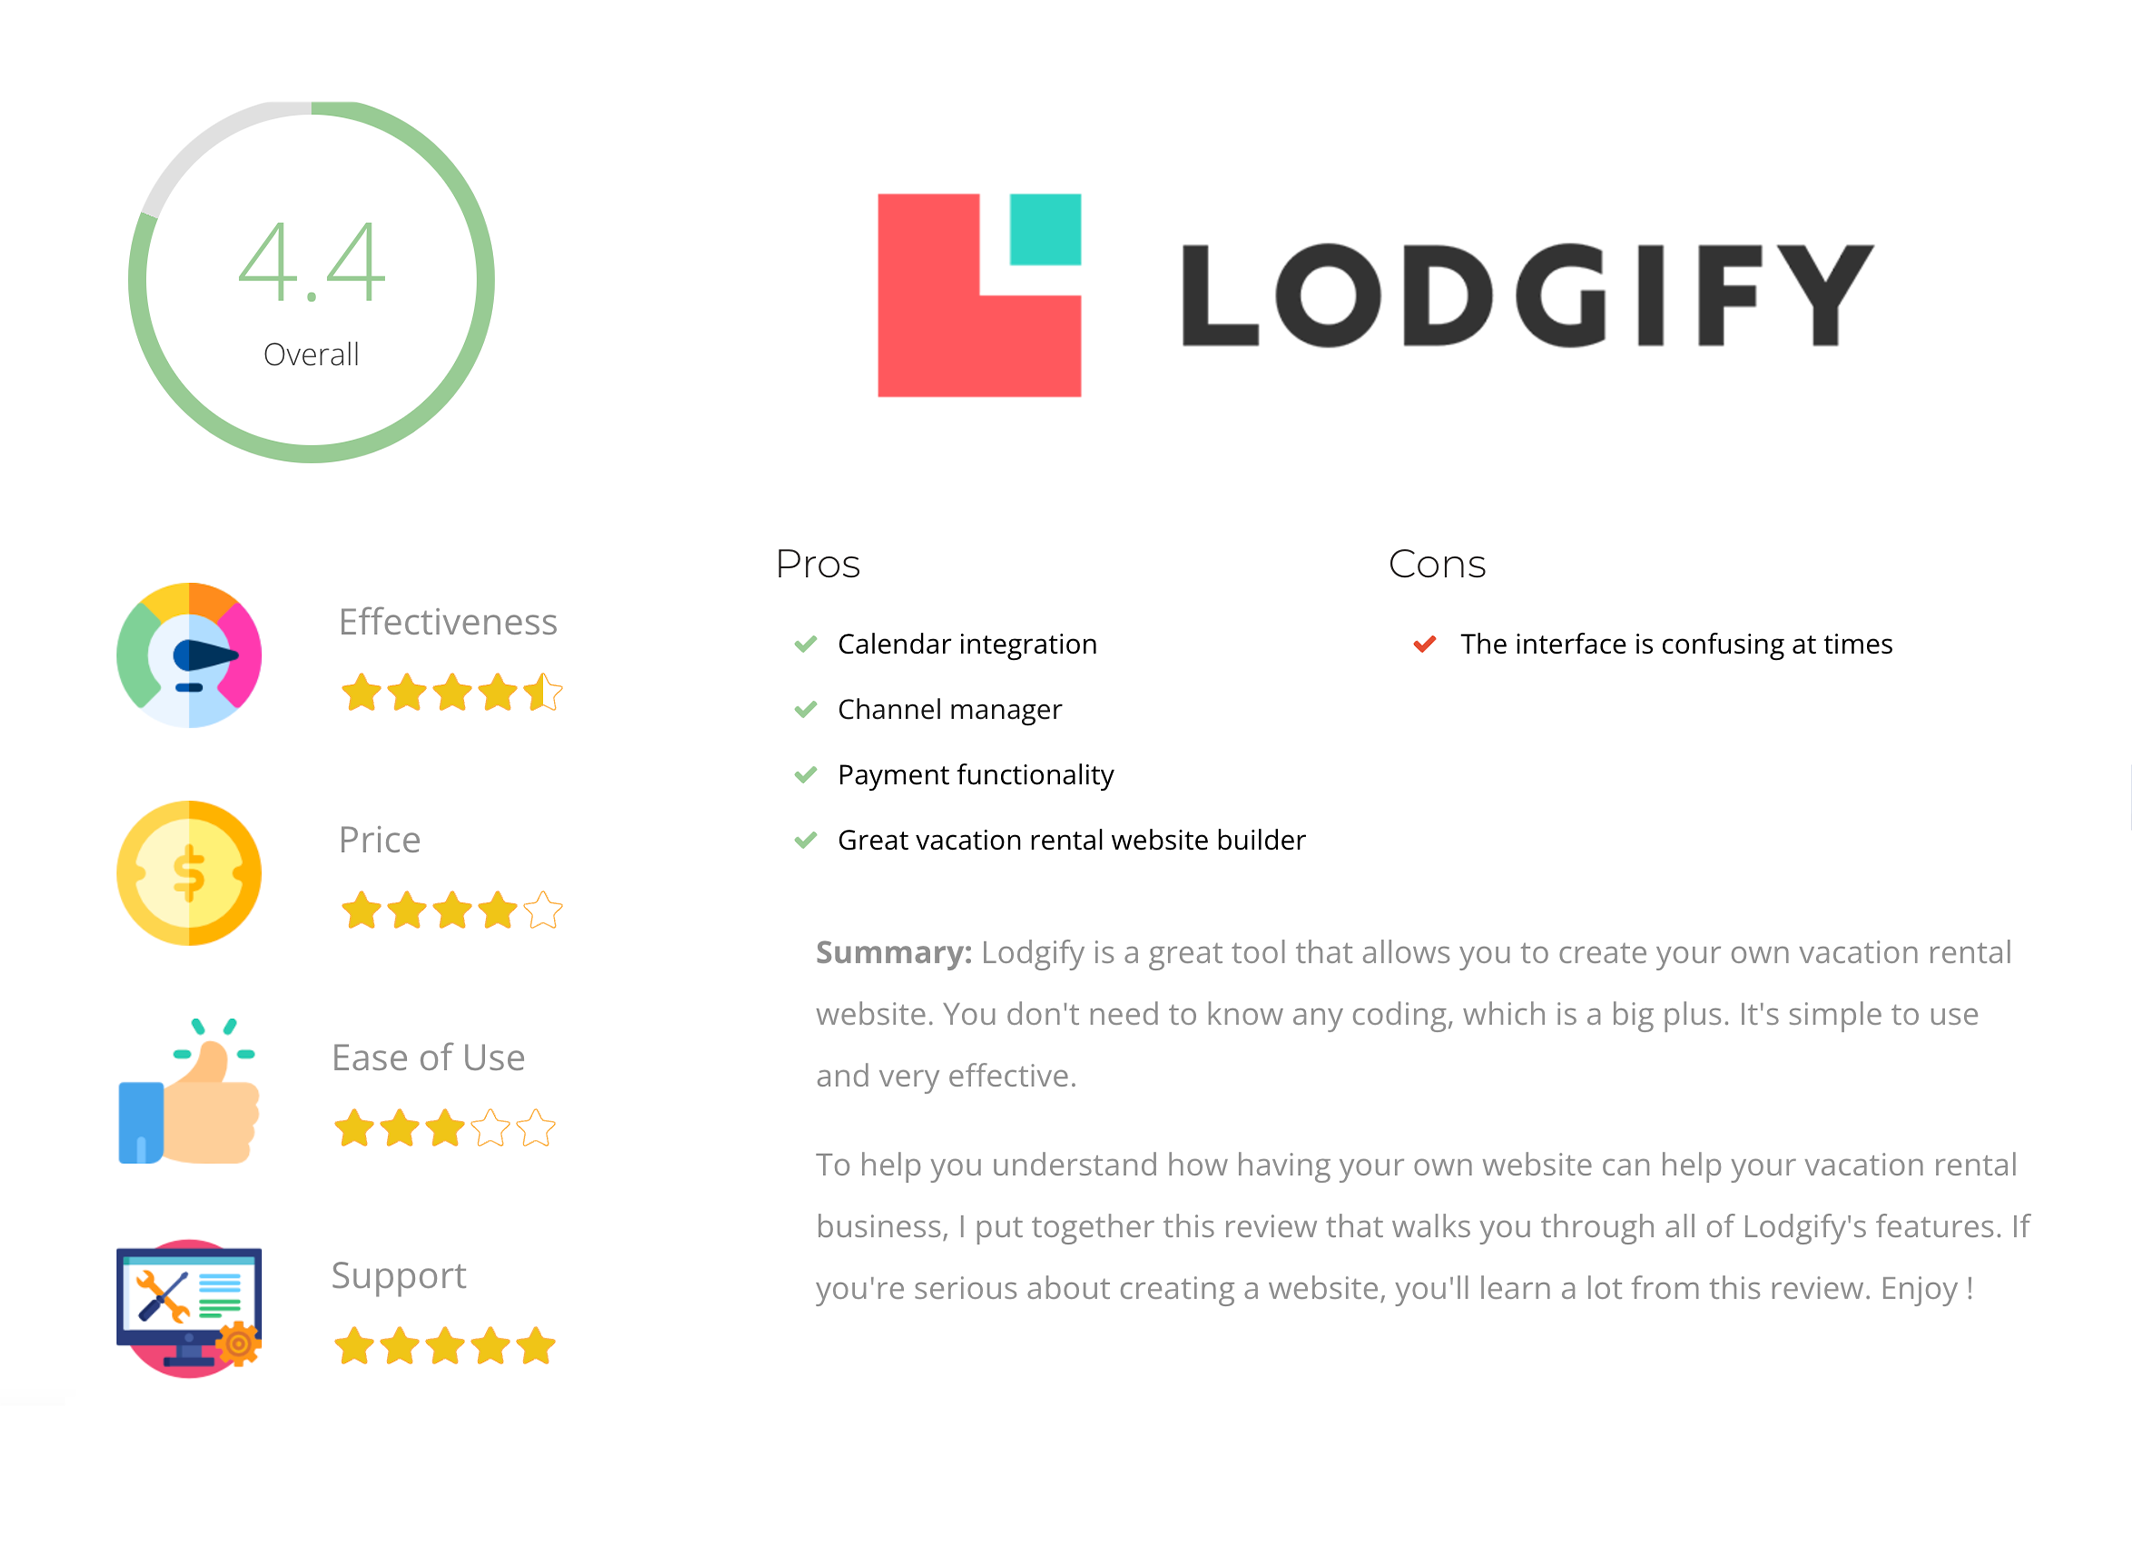
Review of: Lodgify
Use: Vacation rental website creation
Effectiveness
With little effort you have a well functioning website
Price
Very reasonably priced
Ease of use
Interface is confusing at times
Support
Fast and quality live-chat support
I Like
- Calendar integration
- Channel manager
- Payment functionality
I Don't Like
- The interface is confusing at times
Summary: Lodgify is a great tool that allows you to create your own vacation rental website. You don't need to know any coding, which is a big plus. It's simple to use and very effective.
To help you understand how having your own website can help your vacation rental business, I put together this review that walks you through all of Lodgify's features. If you're serious about creating a website, you'll learn a lot from this review. Enjoy !
Lodgify Review
-
Integrations
-
Pricing
-
Features
-
User interface
-
Customer Support

